Mastering Image Formats: Conversion, Compression, & Optimization
Unlock the power of image formats! Learn how to convert, compress, and optimize JPG, PNG, WebP, AVIF, and more for faster websites and better SEO.
In today's visually-driven digital landscape, images are more than just decorative elements; they are critical components of web performance, user experience, and search engine optimization (SEO). From stunning hero banners to intricate product photos, every image on your website or digital project plays a role in how users perceive your content and how quickly they can access it.
But here's the catch: not all image formats are created equal. The choice of format, along with how you convert, compress, and resize your images, can dramatically impact everything from your page load times to your website's ranking on Google. Are you inadvertently slowing down your site with oversized PNGs? Could switching to WebP or AVIF give you a crucial performance edge? Are you struggling with compatibility issues when sharing HEIC photos?
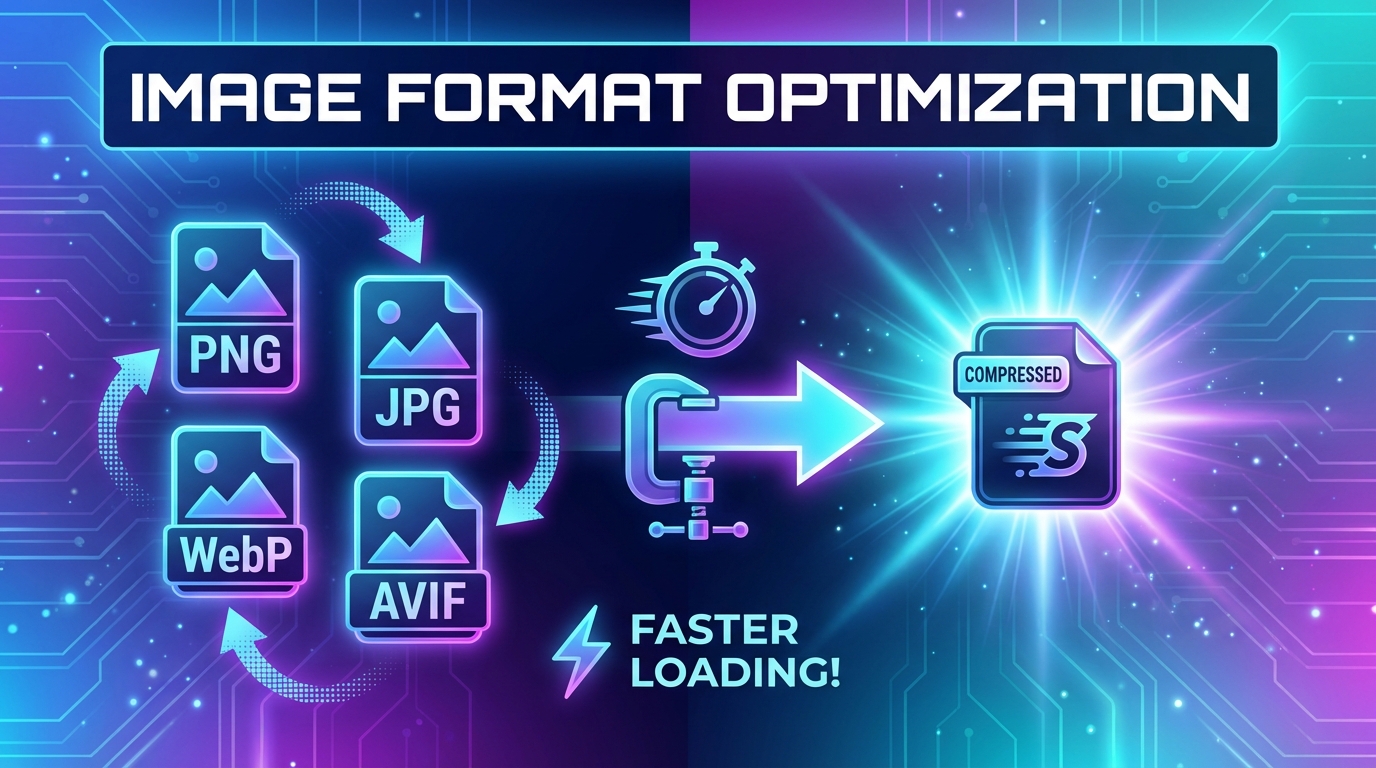
Navigating the complex world of image formats – JPG, PNG, WebP, AVIF, GIF, SVG, TIFF, BMP, ICO, and HEIC – can feel overwhelming. Each has its strengths and weaknesses, making the decision of which one to use, and when to convert between them, a crucial skill for web developers, marketers, designers, and anyone managing online content.
This comprehensive guide will demystify image formats, explain why conversion and optimization are non-negotiable, and provide you with practical, step-by-step instructions using ConvertMinify.com's powerful, browser-based tools. By the end, you'll be equipped to make informed decisions that will elevate your digital presence, improve user satisfaction, and boost your SEO.
Understanding the Landscape: Popular Image Formats Explained
Before we dive into conversion and optimization, let's get acquainted with the primary players in the image format arena. Understanding their characteristics is the first step towards mastering them.
JPG (JPEG): The Lossy Standard
Joint Photographic Experts Group (JPG) is perhaps the most ubiquitous image format on the web, especially for photographs. It excels at compressing images with many colors and subtle gradients, making it ideal for realistic images. However, JPG uses a "lossy" compression method, meaning some data is permanently discarded during the compression process. This allows for significantly smaller file sizes but can lead to noticeable quality degradation if compressed too aggressively.
- Pros: Excellent for photographs, small file sizes with moderate compression, widely supported.
- Cons: Lossy compression (quality degrades with each save), no transparency support.
- Best Use: Photos, complex images where some quality loss is acceptable for file size reduction.
PNG: The Lossless Champion
Portable Network Graphics (PNG) is the go-to format for images requiring transparency or crisp, sharp lines, such as logos, icons, and illustrations. PNG uses a "lossless" compression method, meaning no data is lost during compression. This preserves image quality perfectly but often results in larger file sizes compared to JPG for photographic content.
- Pros: Lossless compression, supports transparency (alpha channel), ideal for graphics and text.
- Cons: Larger file sizes for complex photos, not ideal for high-detail photographic images.
- Best Use: Logos, icons, illustrations, screenshots, images requiring transparent backgrounds.
WebP: The Modern Web Standard
Developed by Google, WebP is a relatively newer format designed specifically for the web. It supports both lossy and lossless compression, as well as animation and alpha channel transparency. WebP images are typically 25-34% smaller than comparable JPGs and PNGs at the same quality level, leading to significant performance improvements.
- Pros: Superior compression (both lossy and lossless), supports transparency and animation, excellent for web performance.
- Cons: Not universally supported by all older browsers or image editors (though support is rapidly increasing).
- Best Use: All web images, especially when aiming for optimal performance and SEO. Convert your images to WebP today!
AVIF: The Next-Gen Challenger
AVIF (AV1 Image File Format) is an even newer, open-source image format based on the AV1 video codec. It boasts even better compression ratios than WebP, often delivering 50% smaller files than JPGs and 20% smaller than WebP for the same perceived quality. AVIF also supports transparency, HDR, and wide color gamut.
- Pros: Excellent compression, superior image quality at smaller file sizes, supports transparency and advanced features.
- Cons: Newer, so browser support is still growing (though widely supported by modern browsers), slower encoding times.
- Best Use: High-performance web applications, demanding visual content, future-proofing your images. Explore AVIF conversion here.
GIF: The Animation King
Graphics Interchange Format (GIF) is best known for its ability to display short, looping animations. It uses lossless compression but is limited to a palette of 256 colors, making it unsuitable for high-quality photographs. For static images, PNG or WebP are generally preferred.
- Pros: Supports animation, lossless compression for limited color palettes, widely supported.
- Cons: Limited to 256 colors, large file sizes for complex animations, not efficient for static photos.
- Best Use: Simple animations, short video clips, low-color graphics.
SVG: The Scalable Vector Graphics
Scalable Vector Graphics (SVG) is unique because it's an XML-based vector image format. Instead of pixels, SVGs use mathematical paths to define shapes, lines, and text. This means they can be scaled to any size without losing quality or becoming pixelated.
- Pros: Infinitely scalable, small file sizes for simple graphics, excellent for responsive design, text-based (searchable).
- Cons: Not suitable for photographs, can become complex and large for highly detailed illustrations.
- Best Use: Logos, icons, illustrations, graphs, UI elements.
TIFF, BMP, ICO, HEIC: Niche but Important
- TIFF (Tagged Image File Format): High-quality, lossless format often used in print and professional photography. Very large file sizes, not web-friendly. Convert TIFF for web use.
- BMP (Bitmap): Uncompressed, high-quality raster format. Extremely large file sizes, rarely used on the web. Easily convert BMP files.
- ICO (Icon): The standard format for favicons and Windows icons. Supports multiple resolutions within a single file. Create your favicon with ICO conversion.
- HEIC (High Efficiency Image File Format): Apple's default image format for newer iPhones. Offers excellent compression but can have compatibility issues outside the Apple ecosystem. Convert HEIC to JPG or PNG for broad compatibility.
Why Image Conversion is Essential
Image conversion isn't just about changing a file extension; it's a strategic move to optimize your digital assets for specific platforms, performance goals, and user experiences.
Web Performance & Load Times
The single biggest reason to convert and optimize images is for web performance. Large, unoptimized images are often the primary culprit behind slow-loading websites. A slow site frustrates users, leads to higher bounce rates, and directly impacts your bottom line. Converting to modern, efficient formats like WebP or AVIF and compressing them can drastically reduce file sizes, leading to faster page loads and a smoother user journey.
SEO Benefits
Search engines like Google prioritize fast-loading websites. Page speed is a confirmed ranking factor. By optimizing your images through conversion and compression, you're not only improving user experience but also sending positive signals to search engines, potentially boosting your organic rankings. Proper image optimization also includes using descriptive alt text and appropriate file names, but the underlying format and size are fundamental.
Browser/Device Compatibility
While modern browsers support most common formats, some niche formats (like HEIC) or cutting-edge ones (like AVIF for older systems) might not be universally compatible. Converting these images to widely supported formats like JPG or PNG ensures your content is accessible to the broadest possible audience, regardless of their device or browser.
Specific Use Cases (e.g., Print vs. Web)
Images intended for print often require very high resolutions and specific color profiles (e.g., CMYK), making TIFF or high-quality JPG suitable. However, these files are far too large for the web. Converting them to optimized web formats (RGB, lower resolution, compressed JPG/WebP) is essential for online display. Similarly, converting vector graphics (SVG) to raster (PNG/JPG) might be necessary for specific social media platforms or legacy systems that don't support SVG.
Preserving Quality vs. File Size
Conversion often involves finding the sweet spot between image quality and file size. Lossy formats like JPG or WebP (lossy mode) allow you to trade a tiny, often imperceptible, amount of quality for significant file size reductions. Lossless formats like PNG or WebP (lossless mode) are chosen when every pixel must be preserved, typically for graphics with sharp edges and transparency.
The Art of Image Compression: Smaller Files, Faster Websites
Beyond choosing the right format, compression is the most powerful tool in your optimization arsenal. It's the process of reducing an image's file size while striving to maintain acceptable visual quality.
Lossy vs. Lossless Compression
- Lossy Compression: As discussed with JPG, this method removes some image data permanently. The trick is to remove data that the human eye is least likely to perceive. You can control the level of compression, with higher compression leading to smaller files but potentially more noticeable artifacts. This is ideal for photographs.
- Lossless Compression: This method reduces file size without discarding any data. The original image can be perfectly reconstructed from the compressed version. PNG and GIF use lossless compression, as does WebP in its lossless mode. It's perfect for images where every pixel counts, like logos and text.
When and How to Compress
Always compress your images before uploading them to your website or sharing them digitally. Even images already in an efficient format like WebP can often be further optimized. The goal is to achieve the smallest possible file size without compromising the visual experience.
Step-by-Step Compression with ConvertMinify.com:
- Choose Your Compressor: Head over to ConvertMinify.com and select the appropriate compression tool. For example, if you have a JPG, go to Compress JPG. For PNG, use Compress PNG. We also offer Compress WebP and Compress AVIF.
- Upload Your Image(s): Drag and drop your image files into the designated area or click to browse and select them from your device. You can often upload multiple images at once for batch processing.
- Adjust Compression Level (if applicable): For lossy formats, you might have an option to adjust the compression quality. Experiment to find the balance between file size reduction and visual fidelity. Our tools often provide a smart default.
- Download Optimized Images: Once processed, your compressed images will be ready for download. You'll often see the percentage of file size reduction achieved.
Remember, compression is an iterative process. It's often best to start with a moderate compression level and only increase it if the visual impact is negligible.
Resizing Images for Optimal Display
Compression handles file size, but resizing handles dimensions. Displaying an image that is physically much larger than its display area (e.g., a 4000x3000px image displayed in a 500x375px space) is wasteful. The browser still downloads the full, large image, then scales it down, wasting bandwidth and processing power.
Why Resizing Matters
- Faster Loading: Smaller dimensions mean fewer pixels, which directly translates to smaller file sizes (even before compression) and faster downloads.
- Reduced Bandwidth: Saves data for both your server and your users, especially important for mobile users on limited data plans.
- Improved User Experience: Prevents layout shifts and ensures images fit perfectly within their designated spaces without unnecessary scaling by the browser.
- SEO: Google recommends serving images at their display size.
Common Resizing Scenarios
- Thumbnails: Small versions of images used in galleries or listings.
- Hero Banners: Large, full-width images for the top of a page, but still optimized for typical screen resolutions.
- Blog Post Images: Sized to fit comfortably within the content column.
- Social Media: Each platform has specific recommended dimensions for optimal display.
How to Resize Images Effectively
Step-by-Step Resizing with ConvertMinify.com:
- Access the Resizer: Navigate to ConvertMinify.com and find the Image Resizer tool. It supports all major formats.
- Upload Your Image: Drag and drop or select the image you wish to resize.
- Define New Dimensions: You'll have options to:
- Enter exact width and height in pixels.
- Specify a percentage to scale the image up or down.
- Maintain aspect ratio (highly recommended to prevent distortion).
- Process and Download: Click the resize button, and your image will be instantly processed and available for download.
It's a good practice to resize images to roughly the maximum dimensions they will be displayed at, and then use CSS for responsive adjustments to smaller screens.
Practical Scenarios: When to Use Which Tool
Let's look at some real-world situations where ConvertMinify.com's tools become indispensable.
Converting JPG to WebP for Web Optimization
Scenario: You have a website full of high-quality photographs, currently in JPG format, and your page speed insights report flags them as a major bottleneck.
Solution: Convert these JPGs to WebP. WebP offers superior compression for photographic content, often reducing file sizes by 25-34% compared to JPGs at the same quality. This directly translates to faster page load times and better SEO.
How: Use our JPG to WebP converter. Upload your JPGs, convert them, and then download the optimized WebP files. You can even compress the WebP further if needed.
Converting PNG to JPG for Photos with Smaller Files
Scenario: You've received a batch of photos in PNG format, but they are incredibly large, and you don't need transparency for these specific images (e.g., a photo gallery).
Solution: Convert the PNGs to JPG. While PNG is excellent for graphics with transparency, it's inefficient for complex photographs due to its lossless nature. Converting to JPG will drastically reduce the file size, making them more suitable for web display where transparency isn't a requirement.
How: Visit our PNG to JPG converter, upload your PNGs, and download the much smaller JPG equivalents.
Converting HEIC to JPG/PNG for Compatibility
Scenario: You've taken beautiful photos with your iPhone, but when you try to share them with friends using Android devices or upload them to certain online platforms, they encounter compatibility issues because of the HEIC format.
Solution: Convert HEIC to a universally compatible format like JPG or PNG. JPG is usually preferred for photos due to smaller file sizes, while PNG can be used if you need to preserve potential transparency or for specific graphic elements.
How: Use our HEIC to JPG converter or HEIC to PNG converter to quickly make your photos accessible everywhere.
Creating Favicons with ICO
Scenario: You've designed a stunning logo for your website and now need to create a favicon – the small icon that appears in browser tabs and bookmarks.
Solution: Convert your logo (typically a PNG or SVG) into an ICO file. The ICO format supports multiple image sizes within a single file, allowing the browser to pick the most appropriate resolution.
How: Start with your PNG logo and use our PNG to ICO converter. This will generate the .ico file ready for your website's root directory.
Optimizing Images for E-commerce
Scenario: You run an online store, and your product images are high-resolution to showcase detail, but they're slowing down your product pages, leading to abandoned carts.
Solution: Implement a multi-pronged strategy: first, ensure all product images are converted to WebP for maximum efficiency. Second, resize images to appropriate display dimensions for product listings and detail pages. Third, compress them to reduce file size even further while maintaining visual quality.
How: Use JPG to WebP or PNG to WebP, then follow up with our Image Resizer and Compress WebP tools for a complete optimization workflow.
Preparing Images for Social Media
Scenario: You need to upload an image to various social media platforms, but each platform has specific dimension and file size requirements, and uploading an unoptimized image often results in blurry or cropped visuals.
Solution: Resize and convert your images to meet each platform's guidelines. For example, a square image might be perfect for Instagram, while a landscape image is better for Facebook. Converting to JPG or PNG is usually safe, as these are widely accepted.
How: Use the Image Resizer to set precise dimensions, then use a converter like PNG to JPG or JPG to PNG if format conversion is also needed.
ConvertMinify.com: Your All-in-One Image Toolkit
At ConvertMinify.com, we understand the challenges of managing digital images. That's why we've built a comprehensive suite of browser-based tools designed to make image conversion, compression, and resizing simple, fast, and accessible to everyone.
- Ease of Use: Our intuitive drag-and-drop interface means you don't need to be a tech expert to optimize your images. Just upload, select your options, and download.
- Browser-Based, No Software Needed: Forget about downloading bulky software or dealing with complex installations. Our tools work directly in your web browser, anytime, anywhere.
- Comprehensive Format Support: Whether you're dealing with common JPGs and PNGs or newer formats like WebP and AVIF, or even niche ones like HEIC and ICO, we've got you covered with a wide array of converters like PNG to AVIF, GIF to WebP, and SVG to PNG.
- Speed and Efficiency: Our powerful backend processes your images quickly, giving you optimized files in moments, without compromising quality.
- Free to Use: All our tools are completely free, providing immense value for individuals and businesses alike.
Conclusion and Key Takeaways
Mastering image formats, conversion, compression, and resizing is no longer optional; it's a fundamental skill for anyone operating in the digital realm. The right approach to image optimization can significantly enhance your website's performance, improve its SEO, and provide a superior experience for your users.
We've explored the nuances of various image formats, highlighting their best use cases, and demonstrated the critical importance of strategic conversion and optimization. From leveraging the efficiency of WebP and AVIF to ensuring compatibility with HEIC, and from compressing large photos to resizing for optimal display, every step contributes to a faster, more visually appealing, and more accessible digital presence.
Don't let unoptimized images hold your website back. Embrace the power of modern image formats and the simplicity of ConvertMinify.com's tools. Start converting, compressing, and resizing your images today, and watch your web performance soar! Your users (and search engines) will thank you.
Ready to transform your images? Visit ConvertMinify.com and discover a world of effortless image optimization.