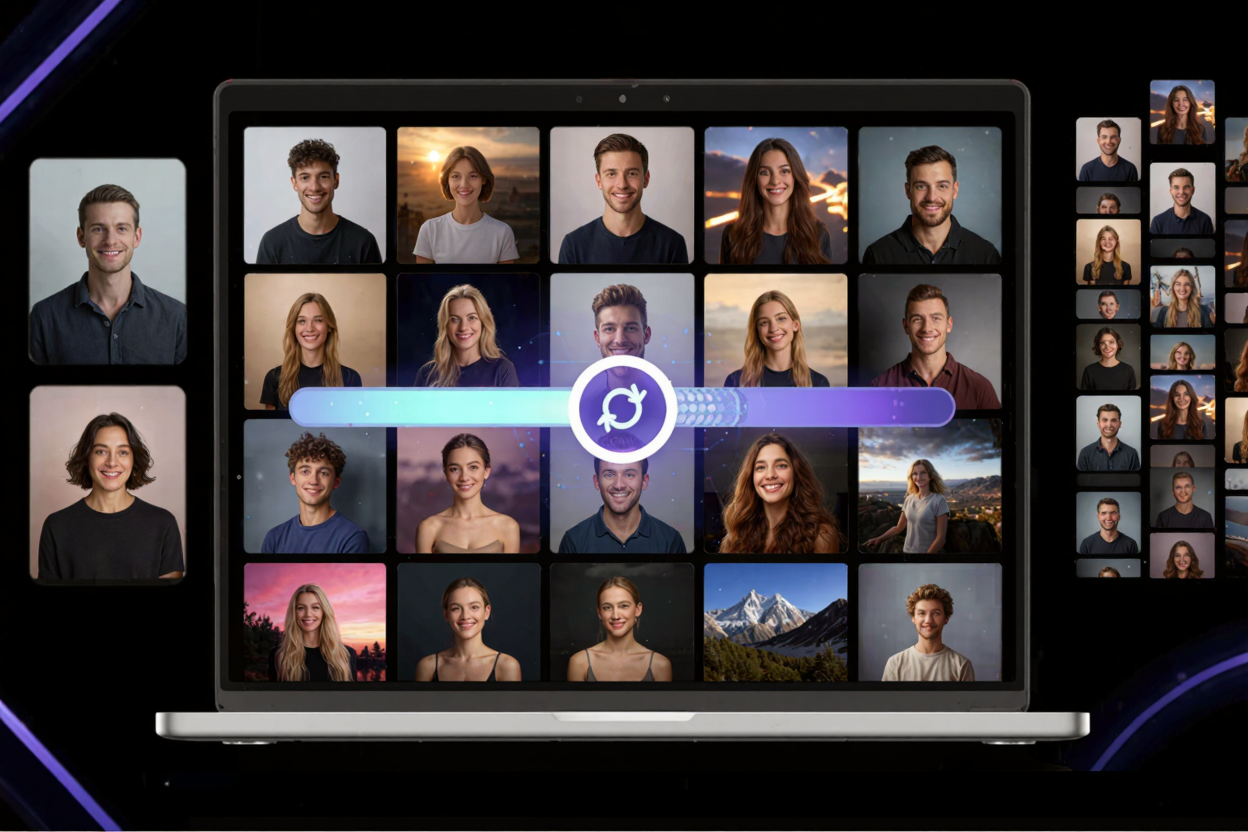
Batch Resize Photos for Website Gallery | ConvertMinify
Learn how to efficiently batch resize photos for your website gallery to boost speed and user experience. Use ConvertMinify's powerful online tools for quick optimization.
In today's fast-paced digital world, a visually stunning website gallery is crucial for engaging your audience. However, large, unoptimized images can drastically slow down your site, frustrating visitors and harming your search engine rankings. The solution lies in efficiently resizing your photos, and for multiple images, batch processing is a true game-changer.
Optimizing your images isn't just about aesthetics; it's a fundamental aspect of good web design and SEO. Slow-loading websites lead to high bounce rates and poor user experience. By reducing file sizes without compromising quality, you ensure your gallery loads quickly, keeping visitors engaged and happy.
Why Image Optimization Matters for Your Website
Website speed is a critical ranking factor for search engines like Google. Images are often the heaviest elements on a page, and oversized files can significantly increase load times. Optimizing them helps your site rank higher, making it more discoverable.
Beyond SEO, user experience (UX) is paramount. Visitors expect fast, seamless browsing. A gallery that takes ages to load images will quickly deter potential customers or readers. Properly sized images ensure a smooth, enjoyable viewing experience.
Furthermore, smaller image files consume less server bandwidth and storage. This can lead to cost savings, especially for websites with extensive image galleries or high traffic volumes. Efficient image management is a smart long-term strategy.
Understanding Image Dimensions and File Sizes
When we talk about image resizing, we're primarily concerned with two aspects: dimensions (width and height in pixels) and file size (in kilobytes or megabytes). A high-resolution photo from a modern camera might be several thousand pixels wide and many megabytes in size, far too large for web use.
For most website galleries, images rarely need to be wider than 1200-1920 pixels, depending on your layout. Reducing these dimensions proportionally is the first step in optimization. The goal is to find the sweet spot where images look crisp on various devices without being excessively large.
File size is also influenced by compression and format. JPEG is ideal for photographs due to its efficient lossy compression, while PNG is better for images with transparency or sharp lines. Modern formats like WebP offer even better compression and quality. When you free image converter, you can often choose the output format.
The Power of Batch Resizing
Imagine you have a portfolio with dozens, or even hundreds, of images for your gallery. Manually opening, resizing, and saving each one individually would be an incredibly time-consuming and tedious task. This is where batch resizing becomes indispensable.
Batch resizing allows you to process multiple images simultaneously, applying the same resizing parameters to all of them at once. This ensures consistency across your entire gallery, saving you countless hours of work. It’s an essential tool for photographers, designers, e-commerce managers, and anyone maintaining a content-rich website.
Consistency in image dimensions and file sizes contributes to a more professional and aesthetically pleasing gallery. It also helps maintain uniform loading behavior, preventing jarring shifts in layout as different images load.
How to Batch Resize Photos with ConvertMinify
ConvertMinify provides an intuitive and powerful online solution for batch resizing your images. Our platform is designed for efficiency, allowing you to optimize your entire gallery in just a few clicks.
Step 1: Upload Your Images
Navigate to the free image converter page. You can drag and drop multiple image files directly into the designated area or click to browse and select them from your computer. ConvertMinify supports a wide range of formats, including JPG, PNG, GIF, BMP, and TIFF, making it versatile for any photo collection.
Step 2: Define Resizing Parameters
Once your images are uploaded, you'll see options to define your desired output settings. You can set a specific width or height, and the other dimension will adjust proportionally to maintain the aspect ratio. Alternatively, you can specify a percentage to scale down all images.
You'll also have options to adjust quality settings for formats like JPG. Experiment with these to find the right balance between file size reduction and visual fidelity. Lower quality settings result in smaller files but can introduce artifacts.
Step 3: Process and Download
With your settings configured, simply click the